
Let us know what you are noticing with your fireplace or flue, and our team will reply with pricing for Chimney Cover Replacement Maple Ridge
Chimney problems are hard to judge from the ground, and climbing up for a closer look is not something we recommend. A clear explanation is the safer first step. This page covers what people in Maple Ridge usually want to know after a search for “chimney cover replacement”: what tends to go wrong, what a repair visit involves, what affects the price and how to tell a careful company from a hasty one. It is written to help you understand chimney cover installation, not to push you into it.

It depends on the damage, so the safe default is to hold off until someone has looked at it. Cosmetic problems on the outside, such as a stained brick face, rarely affect how a fireplace works. Damage inside the flue, a cracked liner, a damper stuck shut or a blocked vent is different, because smoke and hot gases may not leave the house the way they should. If you notice smoke spilling into the room, a strong smell or soot where there was none before, stop using the fireplace. Keep working carbon monoxide alarms on every level of the home either way.
A leaking chimney almost always has one of a few causes: a missing or damaged cap, a cracked crown, failed flashing where the chimney meets the roof, or porous bricks and mortar soaking up rain. On factory-built chimneys, a rusted or flat chase cover is a frequent culprit. Water may show up far from where it enters, running along the flue or the framing before it appears as a stain. Note when the leak happens, whether in every rain or only when wind blows from one direction, and where you see it. Those details help narrow down the source quickly.
We replace caps for three main reasons: corrosion, storm damage and the wrong fit. Painted or galvanized steel caps rust at the seams and screen, and once the mesh breaks apart, animals and debris walk right in. Wind and falling branches can knock a cap loose or tear it off, especially if it was held by a single screw. Fit matters too: a cap that does not match the flue can rattle loose, choke the draft or leave gaps at the sides. Sometimes the mesh is simply plugged with creosote; in that case we clean it and explain why it clogged.
A chimney repair visit normally starts with an inspection to confirm the problem and check for anything related. The technician protects the area around the fireplace and, for exterior work, sets up ladders or roof anchors. Then the damaged part is removed or prepared, whether that means grinding out mortar, cutting away old sealant, unbolting a cap or opening a damper assembly. New materials go in, and the work is checked for fit and weathertightness. At the end you should see the finished work or photos of it and hear about anything else that turned up along the way.
Size, metal and access are the main factors. A standard single-flue cap is quicker and simpler than a full-width cover made for a chimney with several flues, and custom chase covers are fabricated to the exact dimensions of the chase. Stainless steel and copper cost more than galvanized steel but tend to last longer. Roof height and pitch affect how long the setup takes. Extras such as a new storm collar, crown sealing or repairs found under the old cover add to the total. A written quote for chimney cover installation should list the material, the size and what happens to the old cover.

Labor, access and materials drive the price, roughly in that order. Labor depends on the size of the repair and whether it can be finished in one visit or needs curing time between stages. Access covers roof height, pitch and anything that makes ladder setup awkward, such as a deck or steep slope below the chimney. Materials range from a tube of sealant to a custom stainless chase cover or a full liner kit. We also leave room in the conversation for surprises, because opening a chimney sometimes reveals more. Our quotes list each part of the work separately, so you can see where the money goes.
After a repair, the main job is to watch for changes and keep water and debris away from the chimney. Follow any instructions about when the fireplace can be used again, since new mortar or crown material may need time to cure. In the first few rains, check the ceiling and walls near the chimney for stains and look in the firebox for water or debris. Keep tree branches trimmed back from the chimney top and the gutters near it clear. Book a yearly inspection so small wear is caught early, and file the paperwork from the repair for future reference.
For the first few storms, check the places where water used to show up: the ceiling near the chimney, the firebox floor, the damper and the siding below a chase. They should stay dry. From the yard, the cover should look level and tight, without gaps along the edges. Listen for any rattle on windy days, which suggests a loose fastener. If you burn wood, have the mesh looked at during the yearly sweep so it does not clog. Homeowners who just finished a “chimney cover replacement” project should keep the receipt with the material and size noted for future reference.
Pick the company that gives you specifics. One that knows chimneys asks what yours is made of and what burns in it before giving a figure, and it talks about the cause of a problem rather than just the symptom. On site, it should take photos from the roof and inside the flue, lay out the options and let you decide without pressure. Tidy work matters, since soot and mortar dust travel. Ask how follow-up questions are handled once the job is done, and whether the same crew will come back if something needs a second look.

When the work is done, you should understand what was found, what was handled and whether anything needs attention later. That is how Chimney Sweep Maple Ridge closes every job. Book your visit and leave with a clear picture of your chimney.
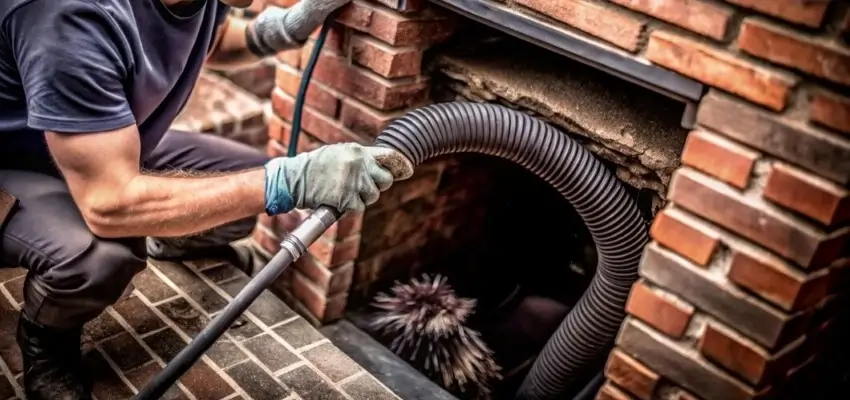
Maple Ridge homeowners: Chimney Cleaning with drop cloths down
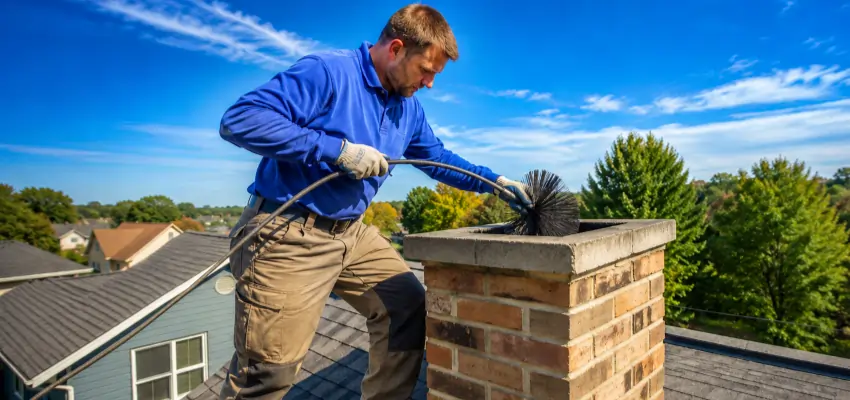
Flue brushed end to end: Chimney Sweep around Maple Ridge
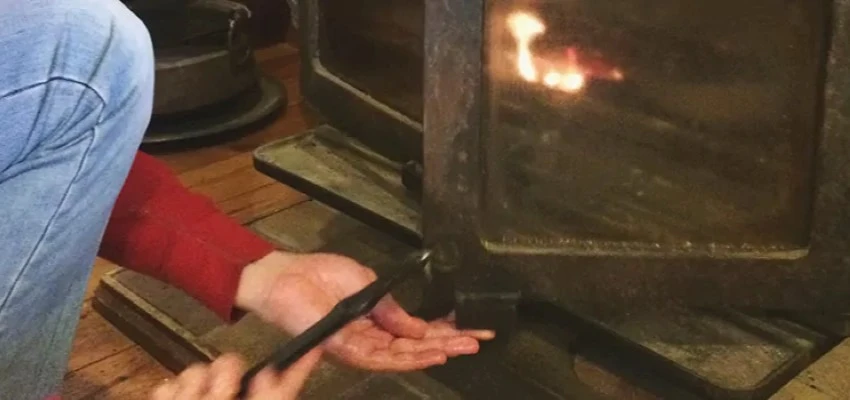
Smoky room or stuck damper? Chimney Sweep Services for Maple Ridge
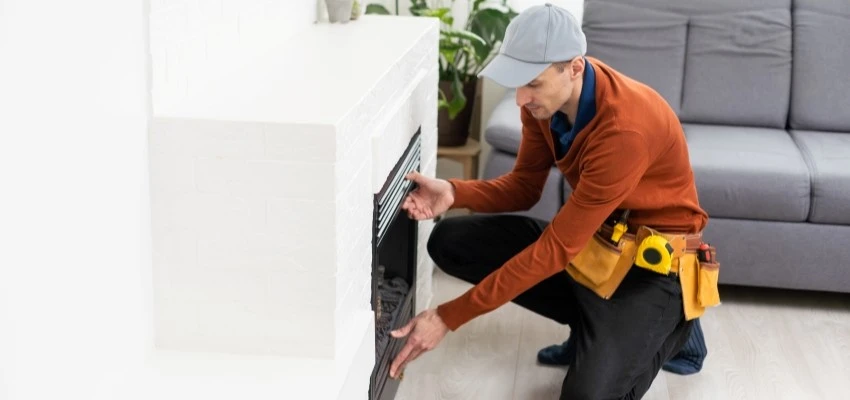
Calm, careful Fireplace Experts for Maple Ridge families
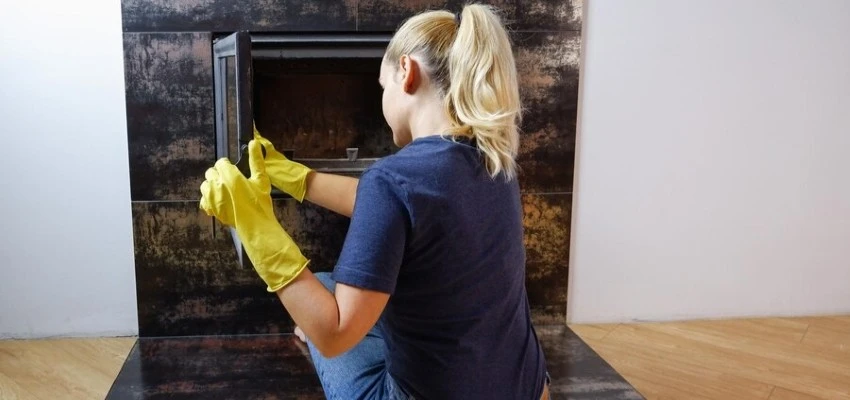
Glass film, cobwebs, dust: Gas Fireplace Cleaning across Maple Ridge
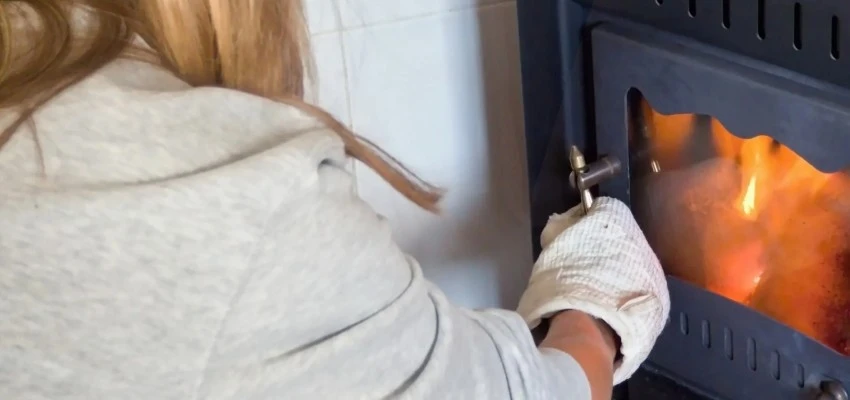
Gas Fireplace Maintenance: a checklist, not a quick wipe

